
 |
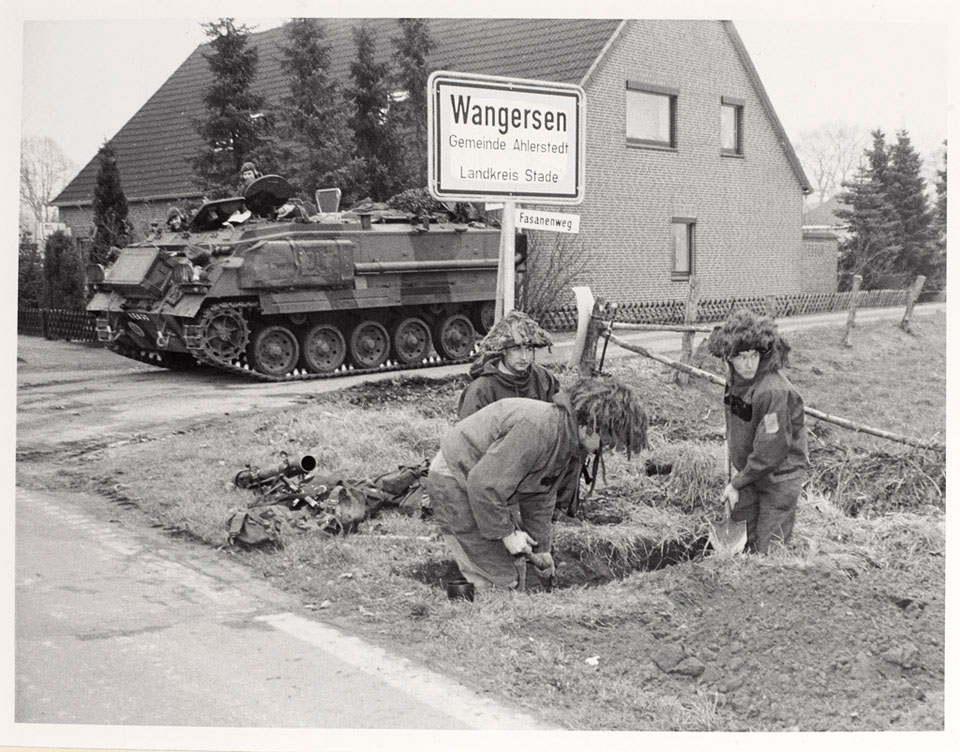
| British troops in West Germany prepare for the Soviet offensive1. |
NATO Situation:
The light infantry of the 3rd Bn Royal Anglians under Colonel Marsh have spent the night hurriedly digging into positions overlooking the main highway to Brunswick. Their brigade commander’s intent is for the Anglians to hold this position for as long as possible to buy time for the defence of the town of Blankenburg to be organised and for relief forces to arrive. No reinforcements are expected, artillery units are currently disorganised and overwhelmed by fire orders, and no air support will be available before the initial Soviet domination of the skies has been challenged.
PACT Situation:
Colonel Rybakov was handed his orders less than 48 hours ago. He has spent the night making final preparations and this morning he gave a speech to his assembled men reminding them of the Motherland’s expectations of them. The motor rifle regiment he commands is providing mechanised infantry support to an armoured thrust which his commanders hope will capture the road leading through Blankenburg. This will allow the rugged highlands of the Harz forest to the South to be bypassed and provide an open corridor through to Brunswick which can be exploited later in the day by followup Polish armoured units. It would be wishful thinking to hope that his orders have been kept secret from the enemy so resistance is expected but should be easily swept aside with the overwhelming firepower available to his commander from divisional artillery and the air force. Rybakov's driver sits up suddenly. He's heard the first shots ring out up ahead - a sudden burst of automatic fire. His scouts further down the road have made their first contact with the enemy.
The Game
We kept our first game relatively small to get a feel for the rules before our larger multiplayer game the following day. I took an understrength battalion of light infantry with a troop of Chieftains for support and Sam brought a battalion of Soviet T-64s and T-72s with the aim of breaking through my lines and exiting via my board edge.
 |
| Chieftains and infantry on the British right flank... |
 |
| More infantry in the centre... |
 |
| And yet more infantry with Milan missiles on the left. |
 |
| Sam's T-72s head unaware into the British ambush. |
 |
| The Soviets' wild attempt at using missiles. |
Sam's thrust completely ignored my left which was annoying for me as it was where I'd placed half my Milan missile teams. Instead he threw his poor, poor tanks into what would prove to be the Anglians' meat grinder. What I thought would be a very fragile line proved to be far more effective than I'd ever expected. Sam sent some of his tanks across open ground while his lead troops attacked straight down the main road to Blankenburg. British artillery fire caused his second tank in the column to bail but it was merely an inconvenience as the tank behind rammed it off the road and into a ditch and kept on going. My Anglians from B company opened up with Carl Gustaf recoilless rifles and LAW anti-tank weapons and soon the roads and fields around them were filled with the flaming wrecks of Soviet Tanks. A critical moment came when Sam's Shilka anti-aircraft gun opened up on my hedgeline. It scored a worrying number of hits but miraculously none of my men broke and rather embarrassingly the Shilka had used up all of its ammunition and was left useless for the rest of the game. B company did eventually break under heavy artillery fire and with mechanised infantry assaulting it in the flank but they'd done their job and caused significant Soviet casualties.
 |
| Sam surveys the carnage while Jason, in traditional American dress, looks on. |
With not much of Sam's force left and the night drawing in we called it a day and went for a Nando's. Colonel Marsh had held the line and performed better than his commanding officers could have expected. But with ammunition running low and more Soviet troops on the way he would certainly have been forced to break contact with the enemy and try to escape South into the dense Harz forest. Maybe we'll see him again later in the campaign.
So, what went well?
- Good quality infantry proved to be remarkably hard to spot and very resilient in a defensive position, I suppose that makes a lot of sense.
- Soviet quantity of fire proved deadly once they got into range.
- The autocannons on IFVs, once they were used, proved to be pretty effective at dealing with infantry.
And what did we learn for next time?
- Troops at less than Average quality in FfoT are an absolute liability. For the points saving the increased chance of running way didn't seem worth it.
- Tanks need infantry support if they're coming up against anything that isn't just another tank.
Onwards to Scenario 2!
1National Army Museum's Online Collection:
https://collection.nam.ac.uk/detail.php?acc=2005-09-38-101
1National Army Museum's Online Collection:
https://collection.nam.ac.uk/detail.php?acc=2005-09-38-101
No comments:
Post a Comment